//클릭한 요소 가져오기
let dv = event.currentTarget;

//클릭한 요소의 className 가져오기
dv.className;
//클릭한 요소의 style 속성 손보기
dv.style.backgroundColor;

//클릭한 요소의 하위 DOM요소 찾기(하위 요소 중 input 타입 찾기)
//input이 여러개라면 맨 처음 하나만 가져온다
dv.querySelector('input');

//특정 요소 모두 찾기
dv.querySelectorAll();

//id가 modal인 요소 찾기
dv.querySelector('#modal');

//클릭한 요소의 부모 요소 찾기
dv.parentNode;

//클릭한 요소의 자식 요소 찾기
dv.children

//자식요소가 여러개다?
dv.children[i]

//선택한 요소의 text 가져오기
dv.innerText
dv.outerText
$ git push [remote 이름]

예시
$ git push mytest


fatal: The current branch main has no upstream branch.
To push the current branch and set the remote as upstream, use

    git push --set-upstream mt main
$ git push -u project master
To http://00.000.0.000:8090/project.git
 ! [rejected]        master -> master (non-fast-forward)
error: failed to push some refs to 'http://00.000.0.000:8090/project.git'
hint: Updates were rejected because the tip of your current branch is behind
hint: its remote counterpart. Integrate the remote changes (e.g.
hint: 'git pull ...') before pushing again.
hint: See the 'Note about fast-forwards' in 'git push --help' for details.
원격 분기의 변경 내용을 로컬로 변경한 내용과 페치하고 병합하여 이 문제를 해결할 수 있습니다.
$ git fetch origin
# Fetches updates made to an online repository
$ git merge origin YOUR_BRANCH_NAME
# Merges updates made online with your local work
또는 두 명령을 한 번에 모두 수행하는 데만 git pull을 사용할 수 있습니다.
$ git pull origin YOUR_BRANCH_NAME
# Grabs online updates and merges them with your local work
git reset : HEAD의 포인터를 특정 위치로 옮기는 명령어 --hard 옵션 : 이전 커밋으로 돌아가기. 그 커밋 이후에 내용들은 삭제됨. --mixed 옵션 : 커밋을 이동함. 변경 이력이 모두 삭제되지만 스테이지에 코드가 남아있음. 이 코드를 add 후 커밋하면 됨. --soft 옵션 : mixed 옵션과 같지만 이미 스테이징 되어있음. 이 말은, add 없이 바로 커밋하면 된다~~
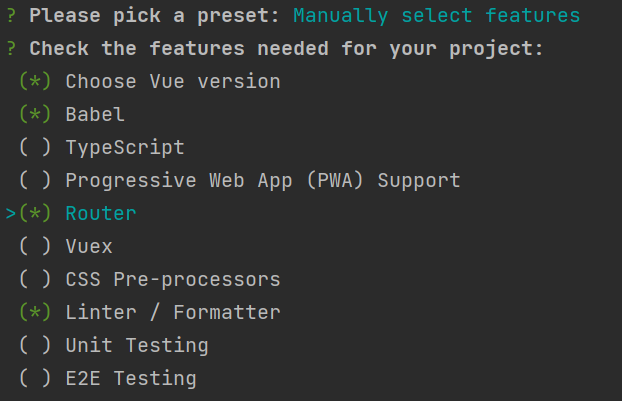
git에서 clone받아 npm run serve 입력을 했는데 오류가 뜨면서 안된다.... ㅠ ㅠ
D:\takoyaki23\front>npm run serve
> front@0.1.0 serve D:\takoyaki23\front
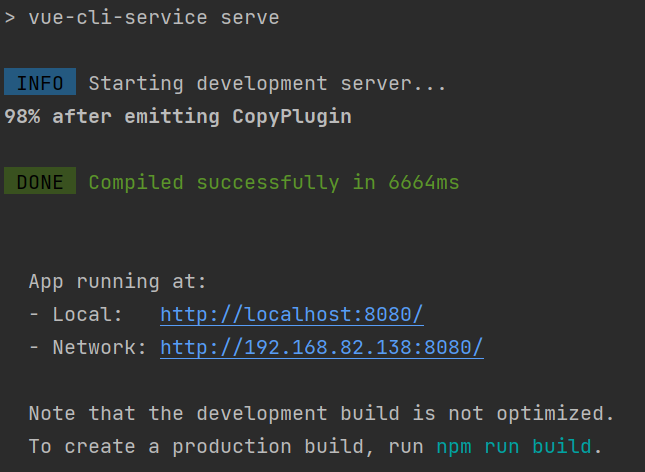
> vue-cli-service serve
'vue-cli-service'은(는) 내부 또는 외부 명령, 실행할 수 있는 프로그램, 또는
배치 파일이 아닙니다.
npm ERR! code ELIFECYCLE
npm ERR! errno 1
npm ERR! front@0.1.0 serve: `vue-cli-service serve`
npm ERR! Exit status 1
npm ERR!
npm ERR! Failed at the front@0.1.0 serve script.
npm ERR! This is probably not a problem with npm. There is likely additional logging output above.
npm ERR! A complete log of this run can be found in:
npm ERR! C:\Users\heirr\AppData\Roaming\npm-cache\_logs\2021-09-30T12_13_34_121Z-debug.log
 <select id="selectCount" parameterType="com.export.model.DataDto" resultType="Integer">
        SELECT COUNT(*)
        FROM ${tableName}
        WHERE ${dataTimeColumn} BETWEEN #{startTime} AND #{endTime}
</select>
where 절에 시간으로 조건을 줬는데... 에러가 났다.
Cause: org.postgresql.util.PSQLException: ERROR: operator does not exist: timestamp without time zone >= character varying
dataTimeColumn 컬럼은 timestamp 타입이라...
timestamp without time zone 타입이랑 character 타입이랑 연산이 안 된다는 것 같다.
해결방법 : TO_TIMESTAMP(문자열,'YYYY-MM-DD') 를 사용하여 문자열을 Date형식으로 변환해준다.
수정 후 쿼리
<select id="selectCount" parameterType="com.export.model.DataDto" resultType="Integer">
        SELECT COUNT(*)
        FROM ${tableName}
        WHERE ${dataTimeColumn} BETWEEN TO_TIMESTAMP(#{startTime},'YYYY-MM-DD') AND TO_TIMESTAMP(#{endTime},'YYYY-MM-DD')
</select>
jdbcTypeForNull : JDBC타입을 파라미터에 제공하지 않을때 null값을 처리한 JDBC타입을 명시한다. 일부 드라이버는 칼럼의 JDBC타입을 정의하도록 요구하지만 대부분은 NULL, VARCHAR 나 OTHER 처럼 일반적인 값을 사용해서 동작한다.
mapUnderscoreToCamelCase : 전통적인 데이터베이스 칼럼명 형태인 A_COLUMN을 CamelCase형태의 자바 프로퍼티명 형태인 aColumn으로 자동으로 매핑하도록 함
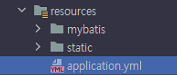
3. jdbc datasource 설정
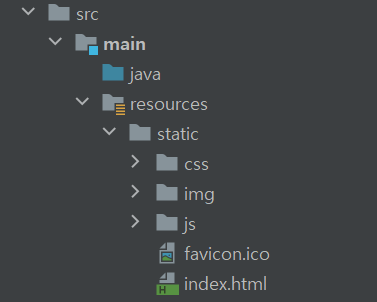
resources 밑에 application.yml 생성
내용
spring:
  profiles:
    active: local

---
# local development server
spring:
  profiles: local
  datasource:
    jdbc-url: jdbc:postgresql://localhost:5432/dbName
    driver-class-name: org.postgresql.Driver
    username: test
    password: test@!
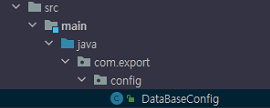
4. DB 접속 및 sqlSession 설정
패키지 밑에 DataBaseConfig 생성
내용
package com.export.config;


import javax.sql.DataSource;

import org.apache.ibatis.session.SqlSessionFactory;
import org.mybatis.spring.SqlSessionFactoryBean;
import org.mybatis.spring.SqlSessionTemplate;
import org.mybatis.spring.annotation.MapperScan;
import org.springframework.beans.factory.annotation.Autowired;
import org.springframework.beans.factory.annotation.Qualifier;
import org.springframework.boot.context.properties.ConfigurationProperties;
import org.springframework.boot.jdbc.DataSourceBuilder;
import org.springframework.context.ApplicationContext;
import org.springframework.context.annotation.Bean;
import org.springframework.context.annotation.Configuration;
import org.springframework.context.annotation.Primary;
import org.springframework.jdbc.datasource.DataSourceTransactionManager;

@Configuration
//////매퍼 xml 파일이 바라볼 패키지 설정
@MapperScan(value="com.export.mapper.*", sqlSessionFactoryRef = "sqlSessionFactory")
public class DataBaseConfig {

	/////application.yml에 설정한 정보를 가져와 dataSource 빈 생성
    @Primary
    @Bean(name = "dataSource")
    @ConfigurationProperties(prefix = "spring.datasource")
    public DataSource dataSource() {
        return DataSourceBuilder.create().build();
    }


    @Primary
    @Bean(name = "sqlSessionFactory")
    public SqlSessionFactory sqlSessionFactoryBean(
            @Autowired @Qualifier("dataSource") DataSource dataSource,
            ApplicationContext applicationContext) throws Exception {
        SqlSessionFactoryBean factoryBean = new SqlSessionFactoryBean();
        factoryBean.setDataSource(dataSource);
        factoryBean
                .setConfigLocation(applicationContext.getResource("classpath:mybatis/mybatis-config.xml"));
        factoryBean
                .setMapperLocations(applicationContext.getResources("classpath:mybatis/mapper/*.xml"));
        return factoryBean.getObject();
    }

    @Primary
    @Bean(name = "sqlSession")
    public SqlSessionTemplate sqlSession(
            @Autowired @Qualifier("sqlSessionFactory") SqlSessionFactory sqlSessionFactory) {
        return new SqlSessionTemplate(sqlSessionFactory);
    }

    @Primary
    @Bean(name = "transactionManager")
    public DataSourceTransactionManager transactionManager(
            @Autowired @Qualifier("dataSource") DataSource dataSource) {
        return new DataSourceTransactionManager(dataSource);
    }


}
설정은 끝
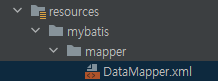
매퍼 xml 파일 예시
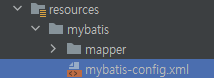
resources > mybatis > mapper 밑에 매퍼 xml 파일을 만들었다.
내용 예시
<?xml version="1.0" encoding="UTF-8"?>
<!DOCTYPE mapper PUBLIC "-//mybatis.org//DTD Mapper 3.0//EN"
        "http://mybatis.org/dtd/mybatis-3-mapper.dtd">

<mapper namespace="com.export.mapper.DataMapper">
    <select id="select11" parameterType="DataDto" resultType="Integer">
        SELECT COUNT(*)
        FROM ${tableName}
        WHERE ${dataTimeColumn} BETWEEN TO_TIMESTAMP(#{startTime},'YYYY-MM-DD') AND TO_TIMESTAMP(#{endTime},'YYYY-MM-DD')
</select>


</mapper>